
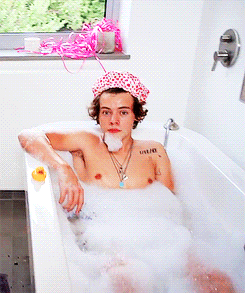
How to make a Harry Styles bath bomb
Love listening to Harry in the bath? Make your own Harry themed bath bomb for the full experience.
Harry Styles loves incorporating water imagery in his work. He is yet to release a merch line of bath bombs, but luckily we’ve put together some instructions for you to make your own Harry Styles themed bath bomb which you can personalise as much as you’d like.
For a debut album era bath bomb, we recommend using pink food colouring, orange peel, rosemary essential oil and any large pink flower petals you can find.
View this post on Instagram
For a Fine Line era bath bomb, channel Harry’s light blue look from Lights Up with light blue food colouring, biodegradable glitter and his Falling BRITS performance with little white flowers and lavender essential oil.
View this post on Instagram
- For roughly two bath bombs you will need:
- 100g bicarbonate of soda
- 50g citric acid
- 25g cornflour
- 2tbsp oil – sunflower, olive oil, or even coconut oil if you have some
- ¼ tsp essential oil – like lavender, eucalyptus, lemongrass, rosemary
- A couple of drops of liquid food colouring
Extras:
- Flower petals (for decoration)
- Fruit peel – orange or grapefruit (for decoration)
- Biodegradable glitter (for decoration)
- Silicone Moulds like cupcake cases (for decoration) or you can hand-build
Once you have your ingredients ready, follow the instructions below to make your bath bombs!
1. Put the bicarbonate of soda, citric acid and cornflour into a bowl. (If you have 25g epsom salt, or 10g biodegradable glitter you can add that here.) Mix all of these until they are combined.
2. Pour your sunflower or olive oil in with your essential oil and a couple of drops of food colouring into a small bowl. Try to combine the colour with the oil as much as possible but don’t worry if it doesn’t mix fully.
3. Now, slowly add the oil mixture to your bigger bowl of dry ingredients. Try to whisk these together between each addition. When all the oil is added, add a few tiny drops of water and whisk again (it will fizz when you add the water, so mix it in quickly). It shouldn’t be too wet but should start to stick and clump together when pressed with the back of a spoon or your fingers.
4. For your decoration, if you are using moulds to create fun shapes, put your fruit peel and flower petals into the bottom of the mould first. Then spoon the mixture on top, pressing down so make sure it is packed tightly. If you are hand-building, put down some aluminium foil, lay out your petal and peels and build your shape from there. Flat shapes are a lot easier to build (think stars and love hearts) but if you want to build a sphere try building two semi-circles first and tie it together with some ribbon while it dries out. You might need to tie it together while it dries out. Don’t forget to smooth out the edges as much as possible to look professional.
5. Your bathbomb needs to dry for up to 5 hours, then you can carefully take it out of the moulds. It’s up to you whether you take a bath straight away or post to your insta to let all your friends know of your beautiful creation!
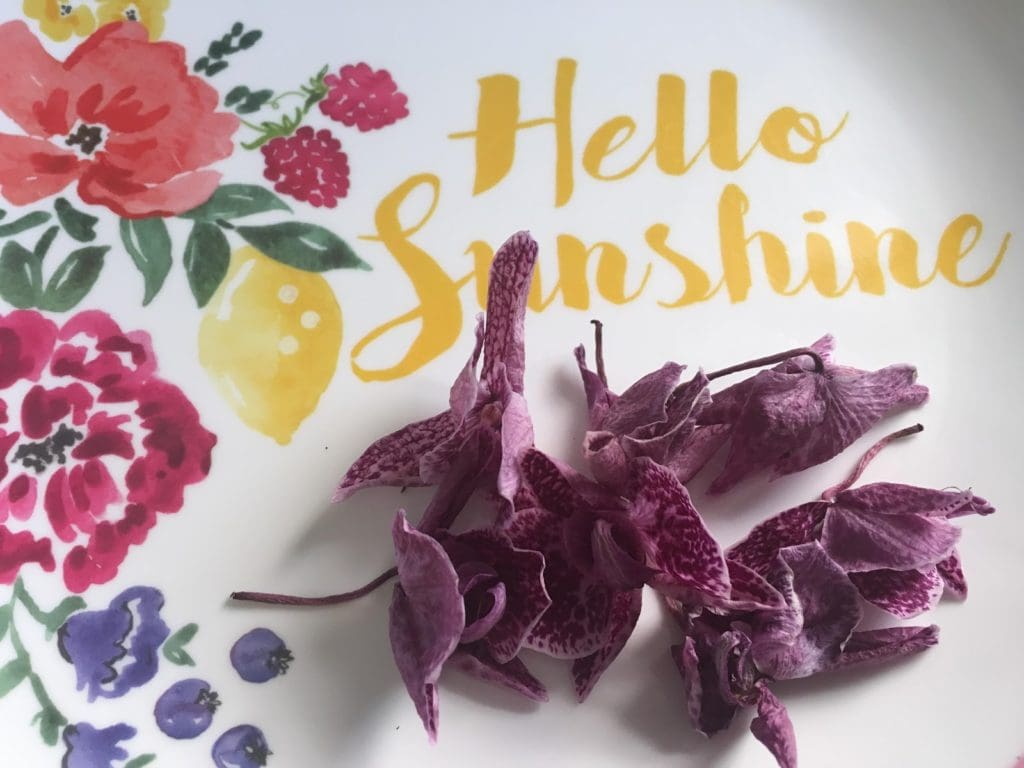
This orchid has just finished flowering so it’s petals are perfect for decoration!
Once you’ve got the basic recipe down, it is super easy to tailor it to your favourite flavours and you can personalise it as much as you like. If you’ve only got one essential oil in the cupboard that’s fine too! Work with what you have, and it’ll still be super fun.
Now that your bath bomb is ready, blast your Spotify playlist, watch it fizz away into the water alongside all your stresses and worries.